


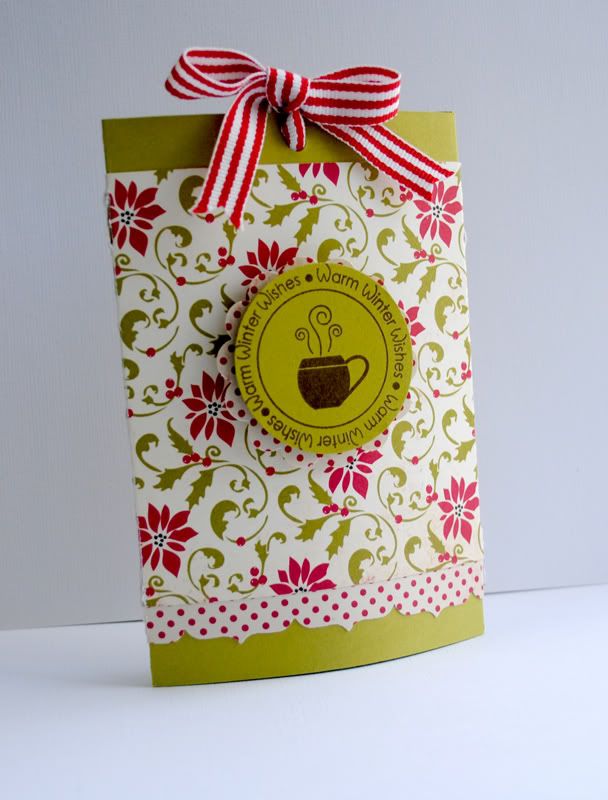
I absolutely adore these sweet little holiday Cocoa Sliders! They are easy to create, and an inexpensive but "warming" gift to give at the holidays! I loved it so much that after doing my first tutorial featuring products from Discount Cardstock that I decided to do yet another tutorial with patterned paper. I added a little something extra to the original design with a sweet Fiskars edger punch and some cheerful red and white striped ribbon.
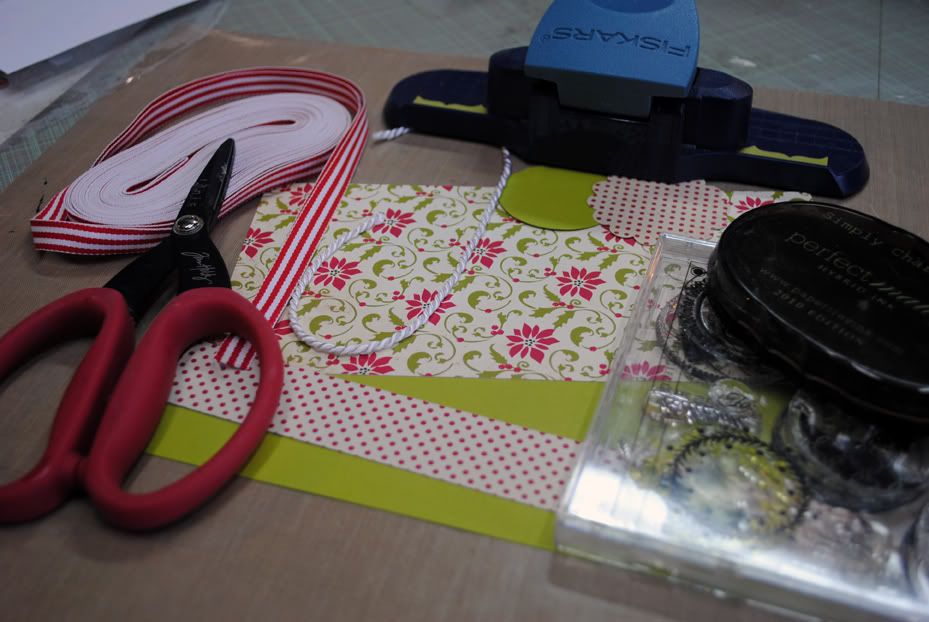
(Please note that I did not use the twine or the ink that is pictured in this supply photograph)
Supplies needed to create this project:
- Cardstock cut at 7 3/4 x 5 1/4, scored at 3 5/8 and 1/2 inch.
- Patterned Paper cut at 7 3/4 x 4, scored at 3 5/8 and 1/2 inch
- Coordinating Patterned Paper cut 5 1/4 x 1 inch
- 16 inch (more or less) Ribbon of your choice
- 1 - 2 inch scallop circle punch patterned paper
- 1 - 1/34 inch circle punched from Cardstock
- Papertrey Ink 2008 Holiday Tag stamp set (or stamp of your choice)
- Ranger: Archival Ink "Coffee" or ink of your choice
Tools needed to create this project:
- Your favorite border punch
- Paper Trimmer
- Scissors
- Scoreboard
- Hold Punch
- Adhesive Tape
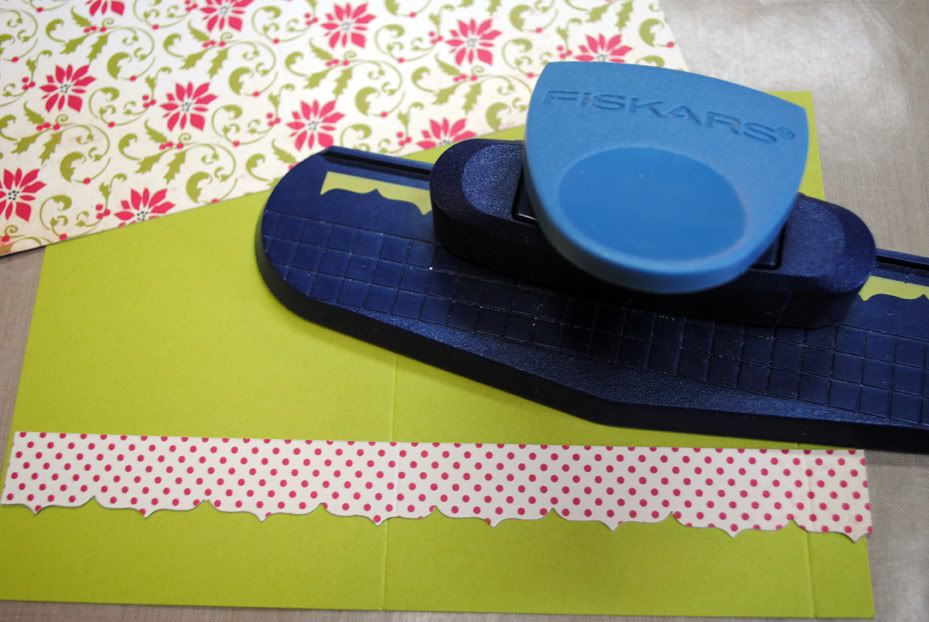
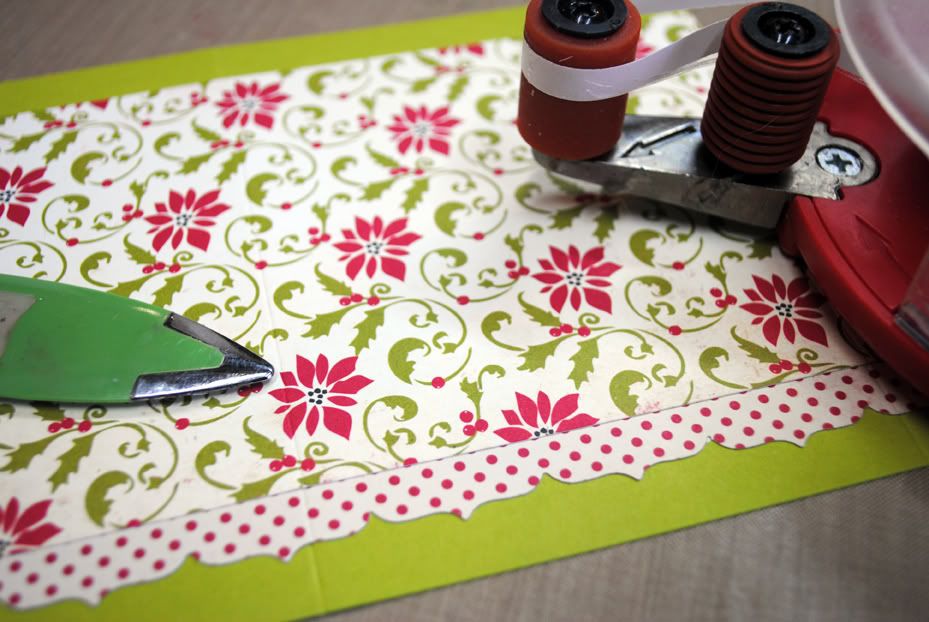
Step One: Punch border along one long edge of 1 inch wide patterned paper.
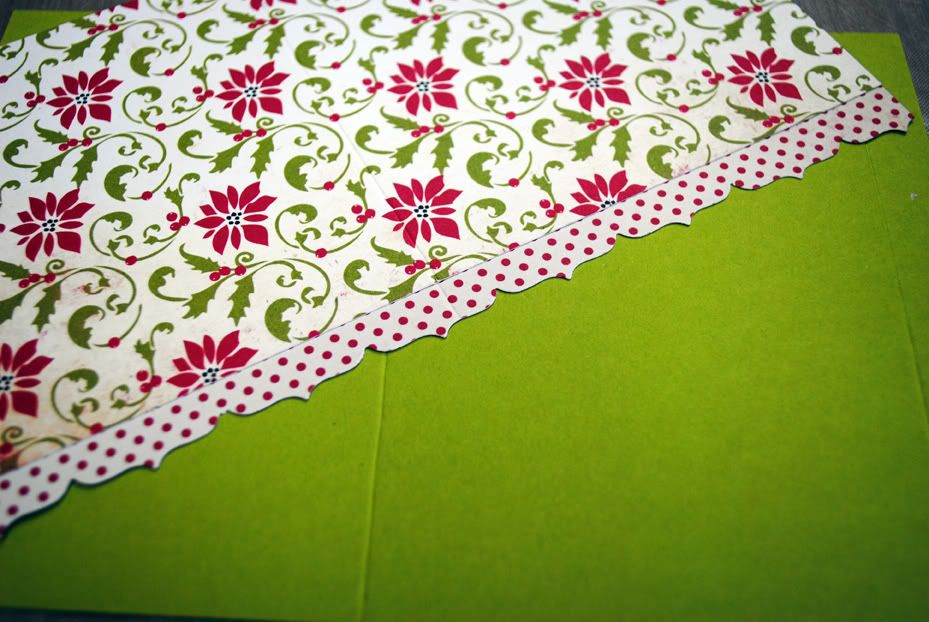
Step Three: Adhere patterned paper to cardstock being careful to line up score marks.
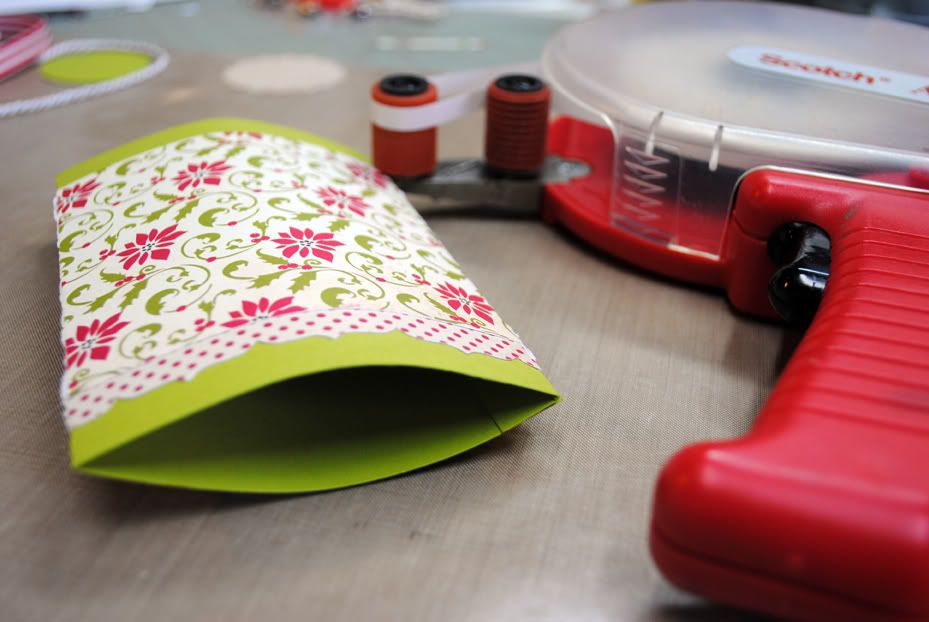
Step Four: Fold at score marks. Adhere 1/2 inch scored part of cardstock to inside of flap creating a pocket for the packet of Cocoa.
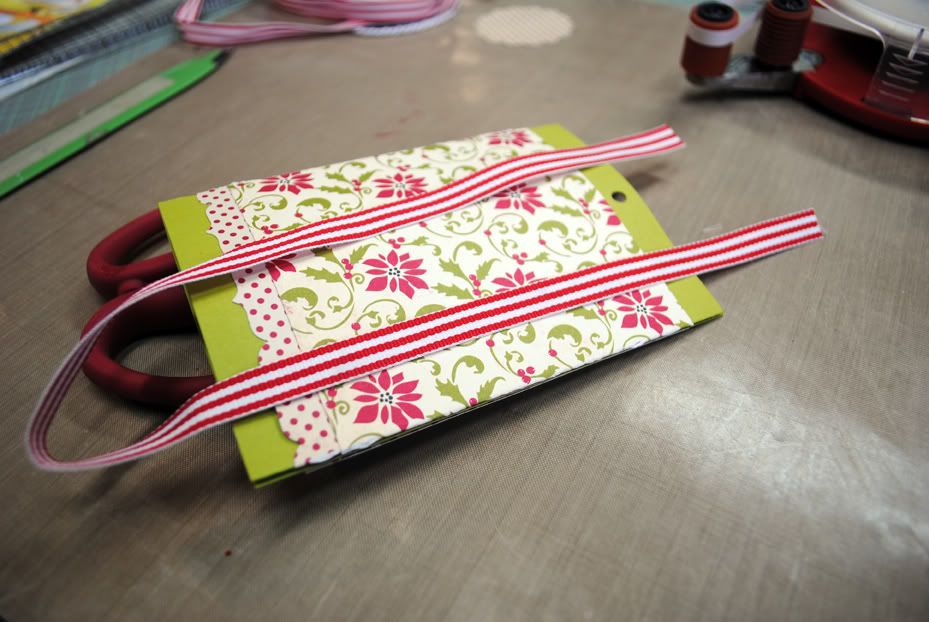
Step Five: Punch hole toward top of slider through both sides of cardstock.
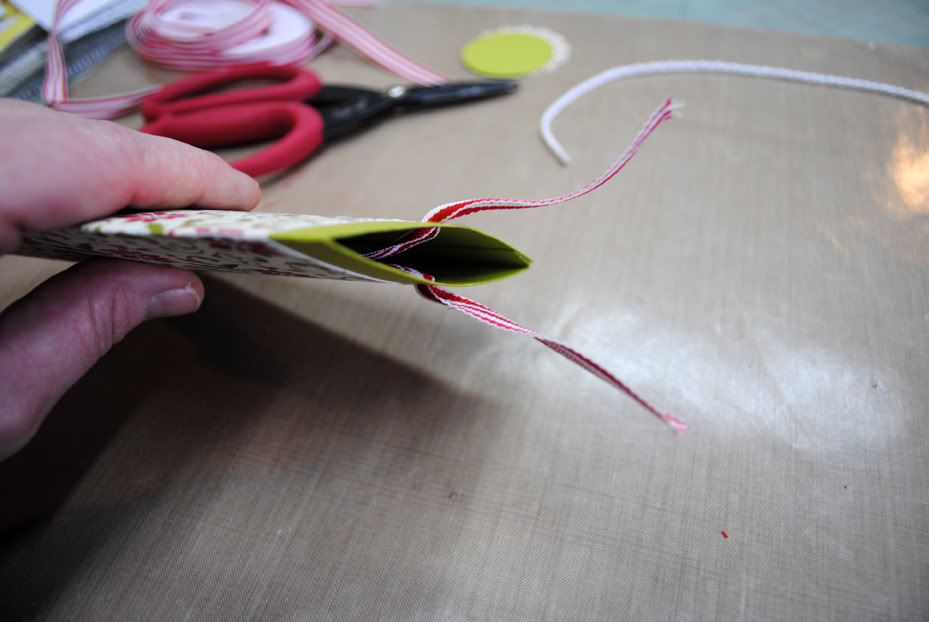
Step Six: Fold ribbon in half and slip down inside pocket. String one end of each ribbon through each hole punch to create a loop inside the pocket to hold the Cocoa packet.
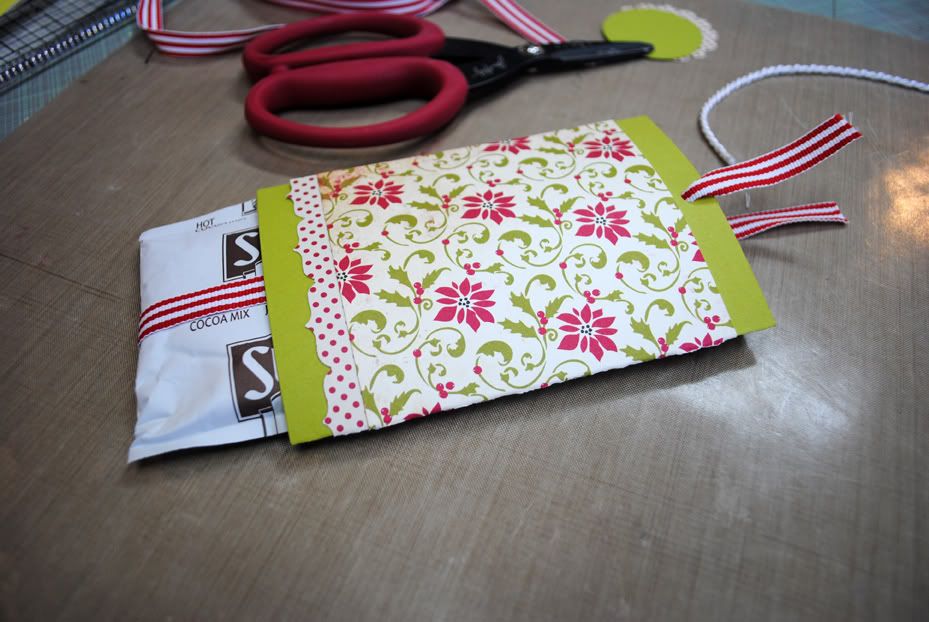
Step Seven: Slip Cocoa packet down into top of pocket. Let the loop "catch" the Cocoa packet.
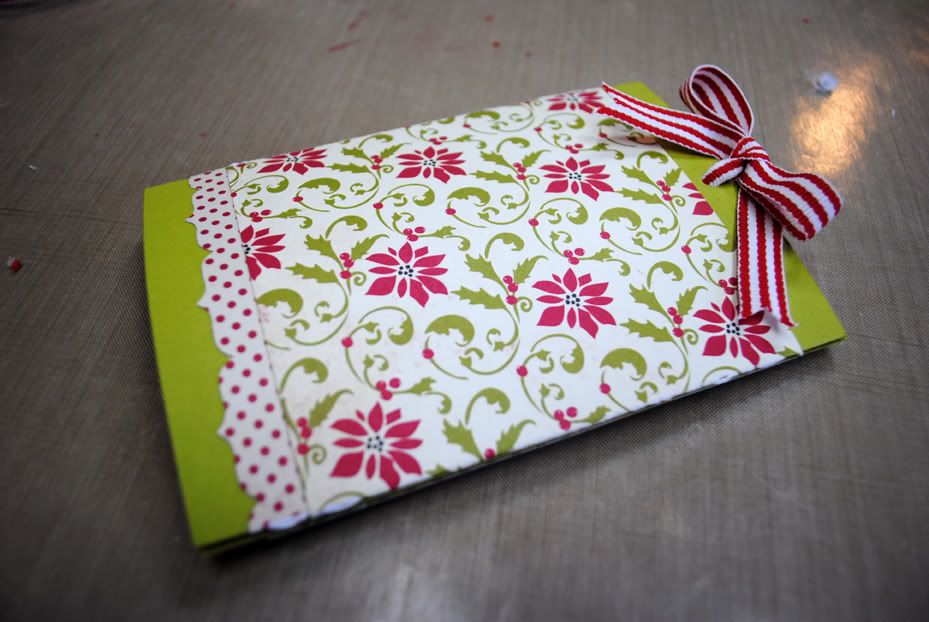
Step Eight: Pull both ends of ribbon up until Cocoa packet is held firmly in place inside the pocket and tie a bow. Trim edges of ribbon as desired.
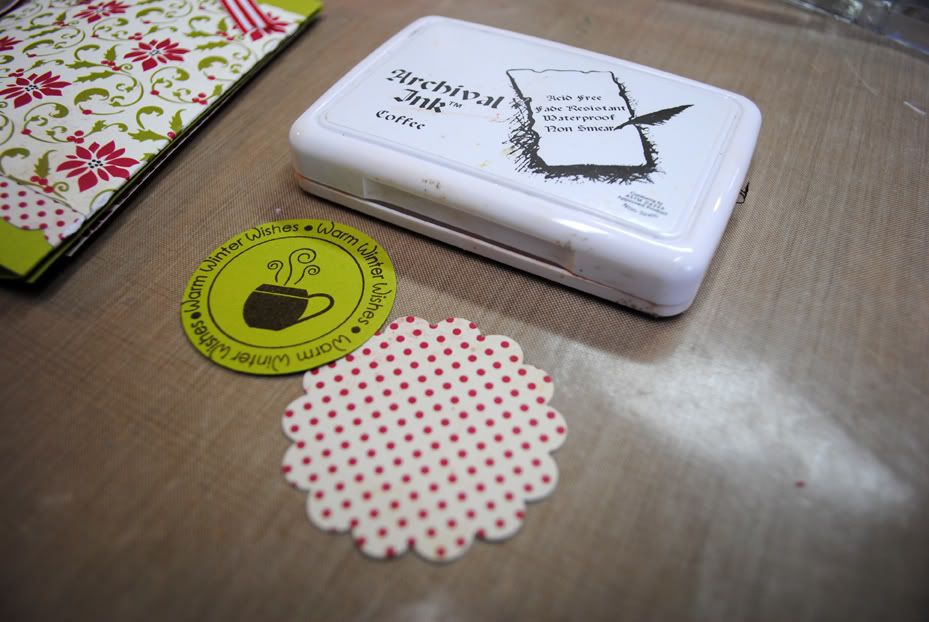
Step Nine: Stamp sentiment on cardstock circle punch. Adhere to scallop circle with Pop Dot.
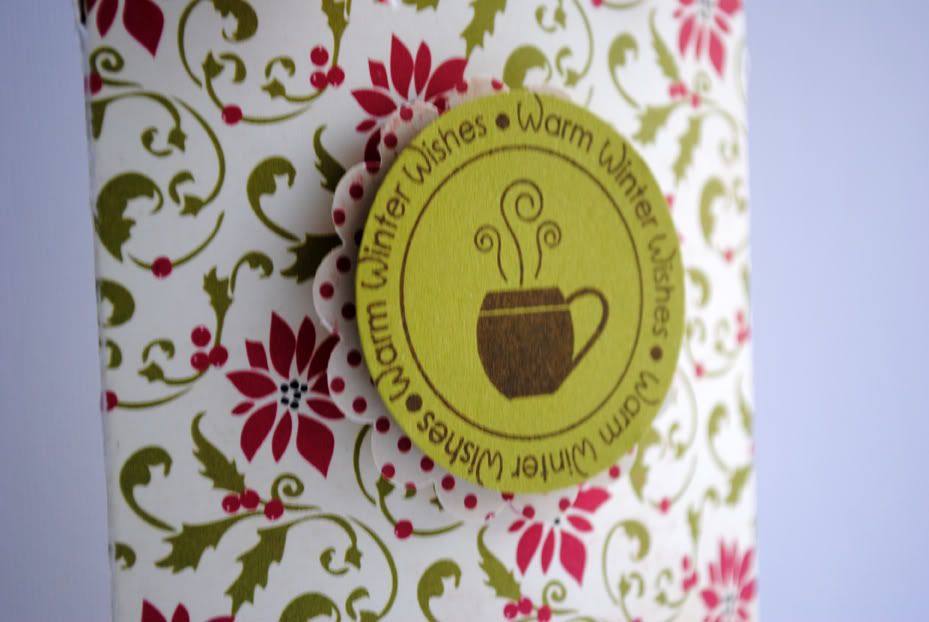
Step Ten: Adhere sentiment to front of Cocoa Slider with Pop Dot.


4 Scrappy Comments:
Adorable!! I love this and thanks for the photo tutorial... as much as I enjoy the crating videos, I LOVE photos/directions that I can print and craft with later or away from my computer best!! :)
TFS, Cheryl @ CardsbyCG.blogspot.com
This is fabulous Beth, and a great photo tutorial as well. I love the colours/patterns you chose.
big hugs
En xx
I want to make some of these! I wish I were coming before Christmas..gggrrr
Love this idea! What a fun and sweet little gift idea this is. Thanks for the great tutorial.
Post a Comment