


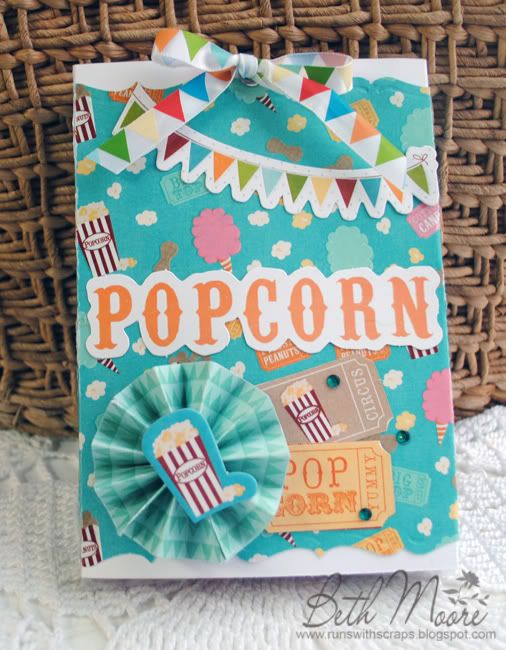
As I promised earlier today on this post that included my Imaginisce Animal Crackers Release Party project, I am posting this tutorial so you can create your own Microwave Popcorn Slider like the one I used in my Movie Night gift set. Don't forget that the Imaginisce Animal Crackers Release Party is going on today through Thursday over at the Imaginisce blog, be sure to stop by every day this week for a chance to win some really awesome prizes!
This tutorial is also availabe for download in PDF form! Click here to download the document.
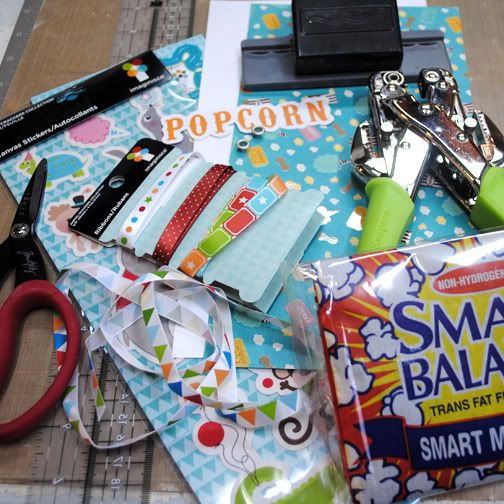
Tools Needed:
Scoreboard
Paper Cutter
Scissors
3/16 hole punch
Border Punch (I used the EK Success Bracket Edger)
Centering Ruler
Pencil and Eraser
Eyelet Tool (Crop A Dile)
Supplies Needed:
Bag of Microwave Popcorn
24 inches of ribbon
6 x 11 inch piece of white cardstock
5 ¾ inch by 11 inch piece of patterned paper
2- 3/16 eyelets
Embellishments
Products I Used for This Tutorial:
Patterned Paper, Die Cuts, Chipboard and Ribbon by Imaginisce “Animal Crackers” Collection
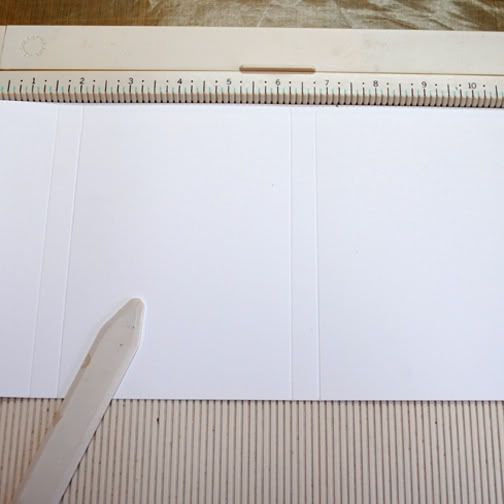
Step 1: Using your scoreboard, score both your cardstock and your patterned paper at the following: 1 ½, 2, 6 ¼ and 6 ¾ inches
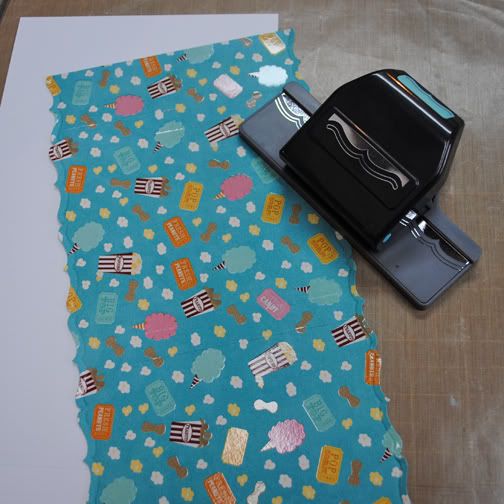
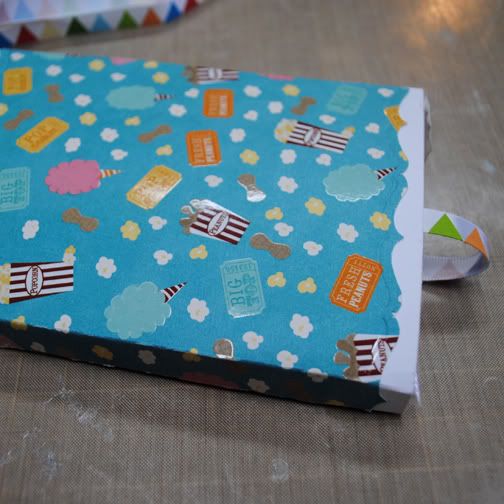
Step 2: Border punch both longs sides of your patterned paper.
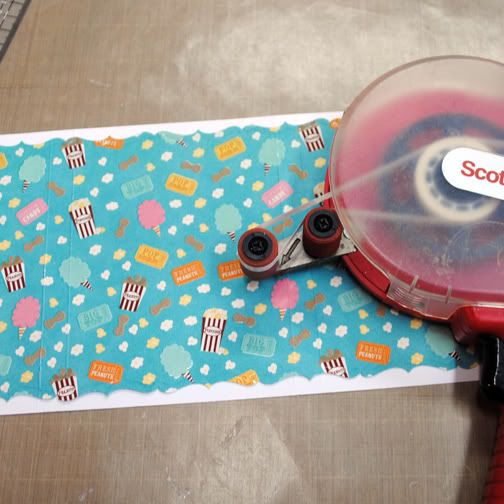
Step 3: Carefully line up your score marks and adhere patterned paper to cardstock.

Step 4: With a centering ruler find the center between the 2 inch and 6 ¼ inch score marks. Make a make small pencil mark there. Then using your ruler and find the center between the 6 ¾ inch score mark and the end of the paper and mark it with the pencil.
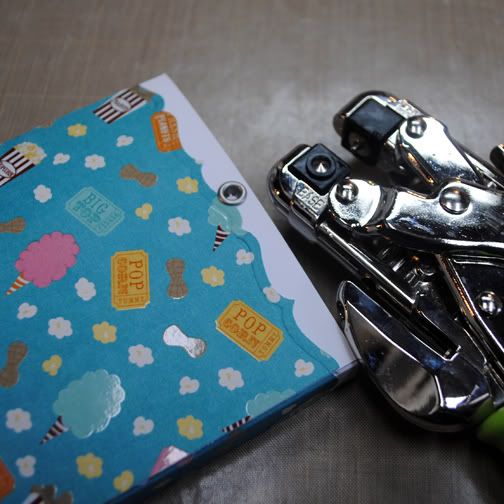
Step 5: Punch a 3/16 inch hold and attach eyelet. Then fold paper at score marks and adhere together as shown below. Erase pencil marks if needed.
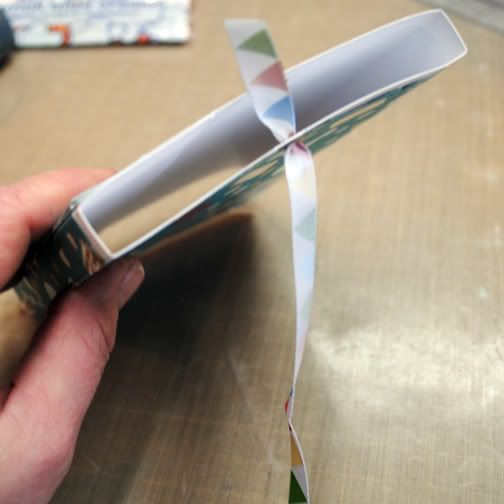
Step 6: Thread ribbon from outside slider as shown.
Step 7: Continue to thread ribbon across slider and through second eyelet hole as shown.
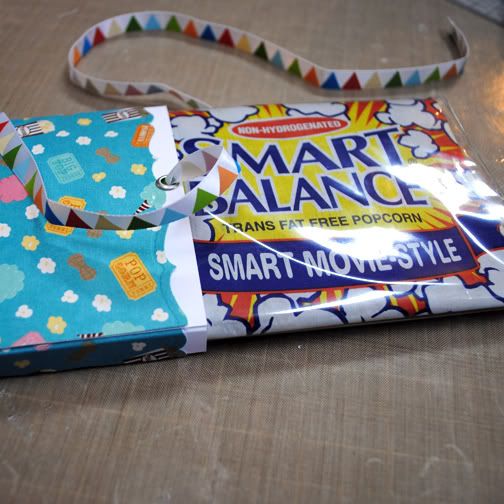
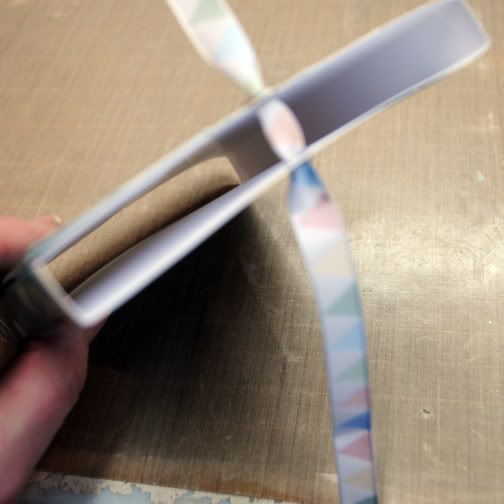
Step 8 continued: The loop as pictured above at the bottom of the slider is what will hold the popcorn package inside the slider.
Step 9: Pull the ribbon up tight enough to hold the package inside the slider, ensuring the entire package is inside the slider. Cut extra ribbon from bow tails.
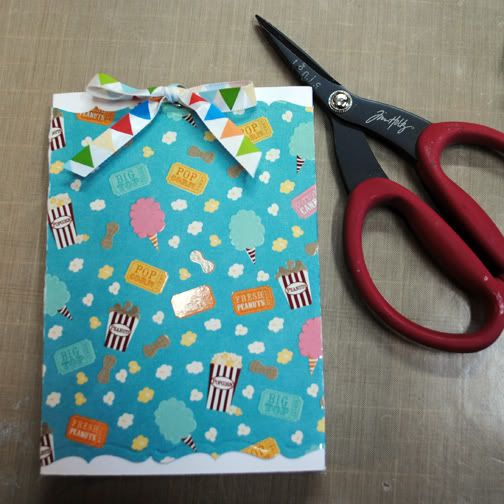
Step 10: Embellish slider as desired.
These sliders are great on their own to give as an inexpensive but thoughtful gift... but they are even better if you add them to an entire "Movie Night" gift set like you saw in my last post.

Happy Crafting!


10 Scrappy Comments:
Thanks for the tutorial. I love that Fiskars border punch. I've never seen it before. Do you know what it's called?
Thanks!
Julie
Thanks for posting the tutorial, I am going to give this a try as soon as I get some cute paper.
Hugs,
Melissa D
mkds312@hotmail.com
www.sleeplesswonder.blogspot.com
Hi Julie, It is actually a border punch from EK Success. It is called the Bracket Edger
Here is a link...
http://ektools.eksuccessbrands.com/Product/Bracket++Edger+Punch.aspx
What a fabulous and fun project, Beth! I just love the whole idea of this. Makes a fantastic gift idea. Thanks for the tutorial. :)
that is just the cutest git idea!!!! Love it, thanks for sharing
Thanks for sharing the how to do this. Super cute idea. Love this.
what an awesome paper and design.
wow this is a great fun project. so cool for all the movie nights my kids have with their friends. Thanks for the tutorial =)
I love the movie night gift set, and what perfect paper for this project!!
This is AWESOME!!! I just love 'packaging' and your ideas are great! The tutorial is incredible! I had to share this on my Friday Favorites today! www.sarazenger.blogspot.com
Post a Comment